
SMS Verify API - Tutorial: Send one-time passcode with Telesign C# SDK
This tutorial teaches you how to use the Telesign C# SDK to send an SMS with a one-time passcode (OTP). Go to GitHub to see the complete sample code.
Before you begin
Make sure you have the following before you start:
- Authentication credentials: Your Customer ID and API Key. If you need help finding these items, go to the support article How do I find my Customer ID and API Key.
- Testing device: A mobile phone on which you can receive SMS.
- dotnet CLI: This tool isn't required to use this SDK, but it is required for this tutorial.
NOTE:This tutorial uses the following.
- MacOS
- .NET SDK v6.0.400
Please modify accordingly if your developer environment differs from these details.
Set up your project
CAUTION:You should use the Full-service SDK for SMS Verify API even if you have a Self-service account!
Follow the Telesign Full-service Java SDK install instructions on GitHub here, incorporating the following details:
- Use
sms_verifyas the project directory name. - Use
SendOTPas the name of the solution.
You should end up in the top-level directory ("SendOTP") for your solution in the Terminal.
Create code to send the SMS
-
Open the file "Program.cs".
-
Add the imports below. The
Telesignimport refers to the Telesign self-service SDK and theTelesignEnterpriseone refers to the full-service SDK.using System; using System.Collections.Generic; using Telesign; using TelesignEnterprise;These imports reference selected functionality from the Telesign Self-service and Full-service SDKs, as well as some other C# utilities.
-
Add the following basic structure below the imports.
namespace SendOTP
{
    class SendOTP
    {
        public static void Main(string[] args)
        {

        }
    }
}
In the next step, you will begin adding statements to the
Mainfunction in theSendOTPclass. -
Define variables in the
Mainfunction to store your authentication credentials. For testing purposes, you can just overwrite the default values below or use environment variables (see step 7).string customerId = "FFFFFFFF-EEEE-DDDD-1234-AB1234567890"; string apiKey = "ABC12345yusumoN6BYsBVkh+yRJ5czgsnCehZaOYldPJdmFh6NeX8kunZ2zU1YWaUw/0wV6xfw=="; -
Define a variable to hold the end-user's phone number you want to send an OTP to. For this tutorial, hardcode your testing device's phone number or pull it from an environment variable (see step 7).
string phoneNumber = "11234567890";NOTE:In your production integration, pull the phone number from your recipient database instead of hardcoding it.
-
(Optional) Pull authentication credentials from environment variables. Although you might not choose to do so for this tutorial, in your production integration it's a good practice to reference your authentication credentials using environment variables.
if (System.Environment.GetEnvironmentVariable("CUSTOMER_ID") != null) { customerId = System.Environment.GetEnvironmentVariable("CUSTOMER_ID"); } if (System.Environment.GetEnvironmentVariable("API_KEY") != null) { apiKey = System.Environment.GetEnvironmentVariable("API_KEY"); } if (System.Environment.GetEnvironmentVariable("PHONE_NUMBER") != null) { phoneNumber = System.Environment.GetEnvironmentVariable("PHONE_NUMBER"); } -
Randomly generate your OTP. The parameter value
100000sets the exclusive maximum value for the randomly generated number, and thus indirectly sets the number of digits in the OTP (five in this case).Random random = new Random(); int num = random.Next(100000); string verifyCode = num.ToString();CAUTION:The method used above to generate a code is actually pseudo-random. In your production implementation, you might want to use a more robust method for randomizing.
-
Create a new dictionary, and use it to store the params you are going to send to the Telesign SMS Verify API. The only param included in this tutorial is the verification code.
Dictionary<string, string> parameters = new Dictionary<string, string>(); parameters.Add("verify_code", verifyCode); -
Create a try-catch structure.
try { } catch (Exception e) { } -
In the
tryblock, add code to instantiate a Telesign verification client object with your authentication credentials.VerifyClient verifyClient = new VerifyClient(customerId, apiKey);NOTE:When you use a Telesign SDK to make your request, authentication is handled behind-the-scenes for you. All you need to provide is your Customer ID and API Key. The SDKs apply Digest authentication whenever they make a request to a Telesign service where it is supported. When Digest authentication is not supported, the SDKs apply Basic authentication.
-
Next in the
tryblock, make the request and capture the response. Behind the scenes, this sends an HTTP request to the Telesign SMS Verify API. Telesign then sends an SMS with an OTP to the end-user.RestClient.TelesignResponse telesignResponse = verifyClient.Sms(phoneNumber, parameters); -
Next in the
tryblock, display the response in the console for debugging purposes. In your production code, you would likely remove this.Console.WriteLine(string.Format("\nResponse HTTP status:\n{0}",telesignResponse.StatusCode)); Console.WriteLine(string.Format("Response body:\n{0}\n",telesignResponse.Body)); -
Next in the
tryblock, collect the asserted OTP entered by the end-user in your application. You can simulate this by prompting for input from the command line.Console.WriteLine("Please enter your verification code:"); string code = Console.ReadLine().Trim();NOTE:In your production implementation, collect input from your website or other application where the end-user is trying to sign in.
-
Next in the
tryblock, determine if the user-entered code matches your OTP, and resolve the sign in attempt accordingly. You can simulate this by reporting whether the codes match.if (verifyCode == code) { Console.WriteLine("\nYour code is correct.\n"); } else { Console.WriteLine("\nYour code is incorrect.\n"); }NOTE:In your production implementation, add code here to sign in the user when the user-supplied code matches the OTP.
-
In the
catchblock, add code to print any error that might occur.Console.ForegroundColor = ConsoleColor.Red; Console.WriteLine("\nAn exception occured.\nERROR: " + e.Message + "\n"); Console.ResetColor(); -
After the
catchblock, add code to end execution of the script.return;
Test your integration
-
Switch from your editor to the terminal and build your project. Make sure you are in the top-level directory of your solution ("SendOTP").
dotnet build -
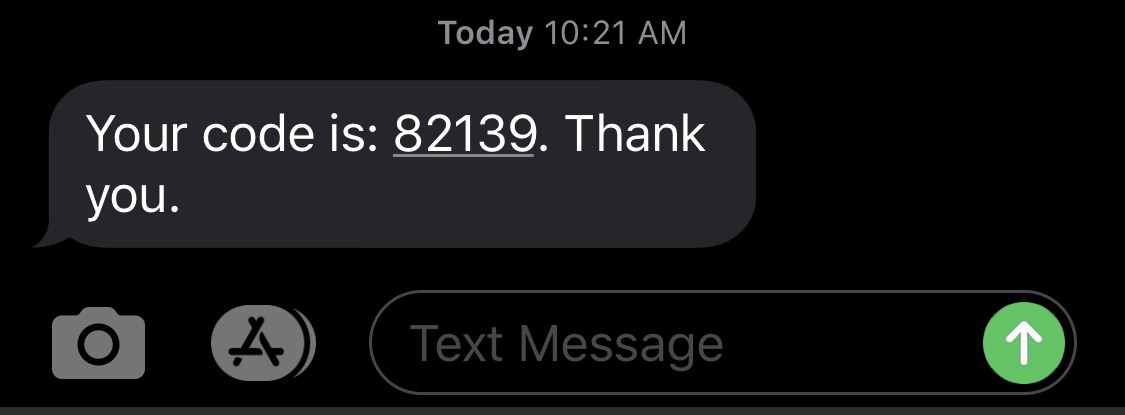
Run your project.
dotnet runYou should receive an SMS on your phone that looks like this:
-
Enter the OTP you received on your phone at the command prompt on the terminal to test that verification is successful:
Please enter the verification code you were sent: 82139 Your code is correct. -
Now let's test an unsuccessful verification. Run again.
dotnet runYou should receive a new OTP on your phone.
-
Enter something else that isn't correct at the command prompt on the terminal and you should get a message that verification failed:
Please enter the verification code you were sent: 55555
Your code is incorrect.
Sample code
The complete sample code for this tutorial can be found on GitHub.
Updated 9 days ago