Verify API - Set up Viber for your account
NOTE:
To add this product to your account, contact a Telesign expert. This product is available for full-service accounts only.
Overview
Viber is one of the world's most popular messaging platforms, enabling you to send messages with various enhanced features including sessions. Follow the steps below to set up a Viber account, the entity you will use to send Viber messages to your customers, before using Verify API.
1. Prepare business info
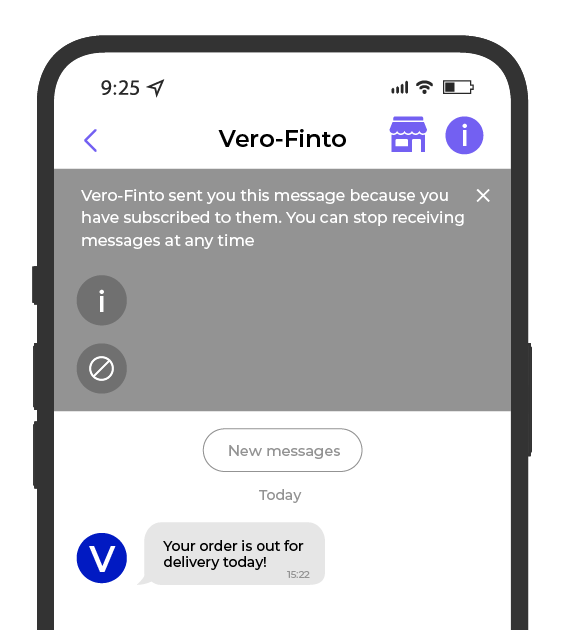
These items appear both in the Business Messages Overlay and the Business Info Page. The Business Messages Overlay appears towards the top of the end user's view on their device when they first interact with your account.

Business Messages Overlay
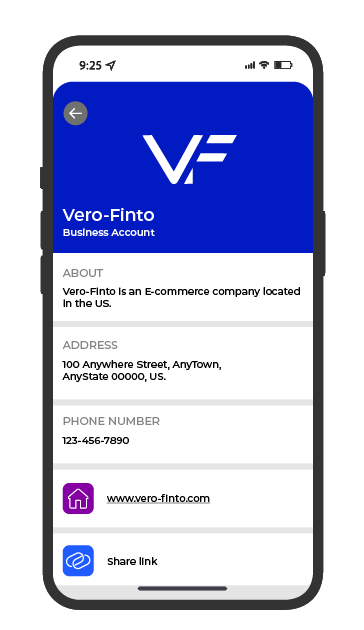
An end user sees the Business Info Page in their Viber account when they click the Business Info Link in the Business Messages Overlay. It explains who you are and gives the end user the option to toggle whether they can receive messages from you.

Business Info Page
Prepare the following items to send to our Customer Support Team for these views:
- Logos: The official logo of your business, in five different sizes. Each must be a PNG file of 150KB or less. Required sizes (width x height):
- 50 x 50 px
- 65 x 65 px
- 100 x 100 px
- 130 x 130 px
- 360 x 280 (used at the top of the Business Info Page)
- About: 10 to 400 characters describing your business and its services.
- Address: Your official business location, including country code.
- Phone number: The phone number you have associated with this Viber account.
- URL: Your official business website. (No Facebook or Instagram pages) Ex:
www.wbsairlines.com - Company name: Your company name, as you want it to appear both in these informational views and as the sender name appearing with your messages. Max 25 characters.
You can change this configuration in future at any time by contacting our Customer Support Team.
2. Contact Telesign Support
Send all of these items to our Customer Support Team. We then notify you when your Viber account is ready to use.
Updated over 1 year ago