
SMS Verify API - Tutorial: Send one-time passcode with Telesign Ruby SDK
This tutorial teaches you how to use the Telesign Full-service Ruby SDK to send an SMS with a one-time passcode (OTP). Go to GitHub to see the complete sample code.
Before you begin
Make sure you have the following before you start:
- Authentication credentials: Your Customer ID and API Key. If you need help finding these items, go to the support article How do I find my Customer ID and API Key.
- Testing device: A mobile phone on which you can receive SMS.
NOTE:This tutorial uses the following:
- MacOS
- Ruby v2.7.1.
Please modify accordingly if your developer environment differs from these details.
Set up your project
CAUTION:You should use the Full-service SDK for SMS Verify API even if you have a Self-service account!
-
Follow the Telesign Full-service Ruby SDK install instructions on GitHub here, incorporating the following details:
- Use
sms_verifyas the project name.
You should end up in the top-level directory ("sms_verify") for your project in the Terminal.
- Use
-
Create a new file called "verify_with_own_code.rb".
touch verify_with_own_code.rb
Create code to send the SMS
-
Open the file "verify_with_own_code.rb".
-
Add the imports below. The
telesignimport refers to the Telesign self-service SDK and thetelesignenterpriseone refers to the full-service SDK.require 'telesign' require 'telesignenterprise' -
Define variables to store your authentication credentials. For testing purposes, you can just overwrite the second operand of each
||operator below with your credentials or use environment variables.customer_id = ENV['CUSTOMER_ID'] || 'FFFFFFFF-EEEE-DDDD-1234-AB1234567890' api_key = ENV['API_KEY'] || 'ABC12345yusumoN6BYsBVkh+yRJ5czgsnCehZaOYldPJdmFh6NeX8kunZ2zU1YWaUw/0wV6xfw==' -
Define a variable to hold the end-user's phone number you want to send an OTP to. For this tutorial, hardcode your testing device's phone number or pull it from an environment variable.
phone_number = ENV['PHONE_NUMBER'] || '11234567890'NOTE:In your production integration, pull the phone number from your recipient database instead of hardcoding it.
-
Randomly generate your OTP. We will use a Telesign SDK utility for this. The parameter value
5specifies the number of digits generated.verify_code = Telesign::Util.random_with_n_digits(5)CAUTION:The method used above to generate a code is actually pseudo-random. In your production implementation, you might want to use a more robust method for randomizing.
-
Instantiate a verification client object with your authentication credentials.
verify_client = TelesignEnterprise::VerifyClient.new(customer_id, api_key)NOTE:When you use a Telesign SDK to make your request, authentication is handled behind-the-scenes for you. All you need to provide is your Customer ID and API Key. The SDKs apply Digest authentication whenever they make a request to a Telesign service where it is supported. When Digest authentication is not supported, the SDKs apply Basic authentication.
-
Make the request and capture the response. Behind the scenes, this sends an HTTP request to the Telesign SMS Verify API. Telesign then sends an SMS with an OTP to the end-user.
response = verify_client.sms(phone_number, verify_code: verify_code) -
Display the HTTP status code and body of the response in the console for debugging purposes. In your production code, you would likely remove this.
print "\nResponse HTTP status: ", response.status_code, "\n" print "Response body: ", response.body, "\n\n" -
Collect the asserted OTP entered by the end-user in your application. You can simulate this by prompting for input from the command line.
print 'Please enter the verification code you were sent: ' user_entered_verify_code = gets.stripNOTE:In your production implementation, collect input from your website or other application where the end-user is trying to sign in.
-
Determine if the user-entered code matches your OTP, and resolve the sign in attempt accordingly. You can simulate this by reporting whether the codes match.
if verify_code == user_entered_verify_code puts 'Your code is correct.' else puts 'Your code is incorrect.' endNOTE:In your production implementation, add code here to sign in the user when the user-entered code matches the OTP.
Test your integration
-
Switch from your editor to the terminal and run
verify_with_own_code.rb.ruby verify_with_own_code.rbYou should receive an SMS on your phone that looks like this:
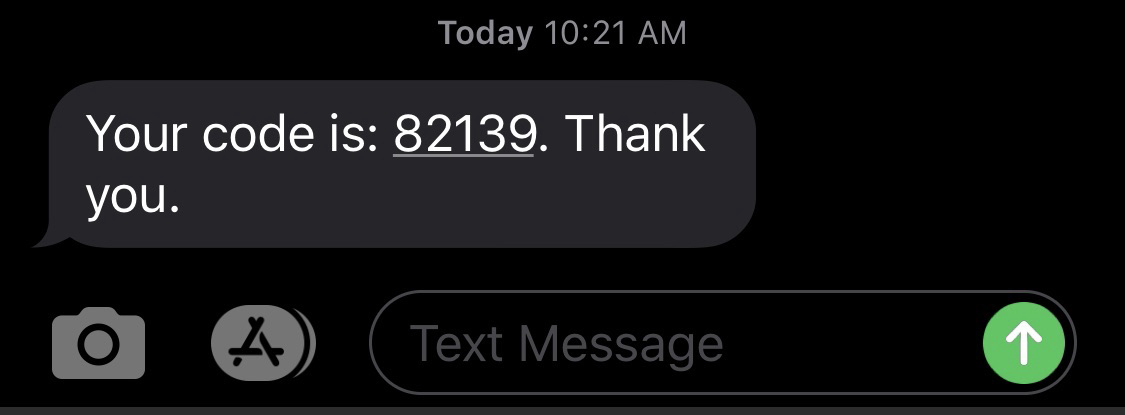
-
Enter the OTP you received on your phone at the command prompt on the terminal to test that verification is successful:
Please enter the verification code you were sent: 82139 Your code is correct. -
Now let's test an unsuccessful verification. Run again.
ruby verify_with_own_code.rbYou should receive a new OTP on your phone.
-
Enter something else that isn't correct at the command prompt on the terminal and you should get a message that verification failed:
Please enter the verification code you were sent: 55555
Your code is incorrect.
Sample code
The complete sample code for this tutorial can be found on GitHub.
Updated 3 days ago